
Donington Park National circuit guide
I've written Jonathan a guide to the Donington National circuit and I'm sending him out to drive it on his own, while I enjoy the sea air at Anglesey. Here's the lap, corner by corner.
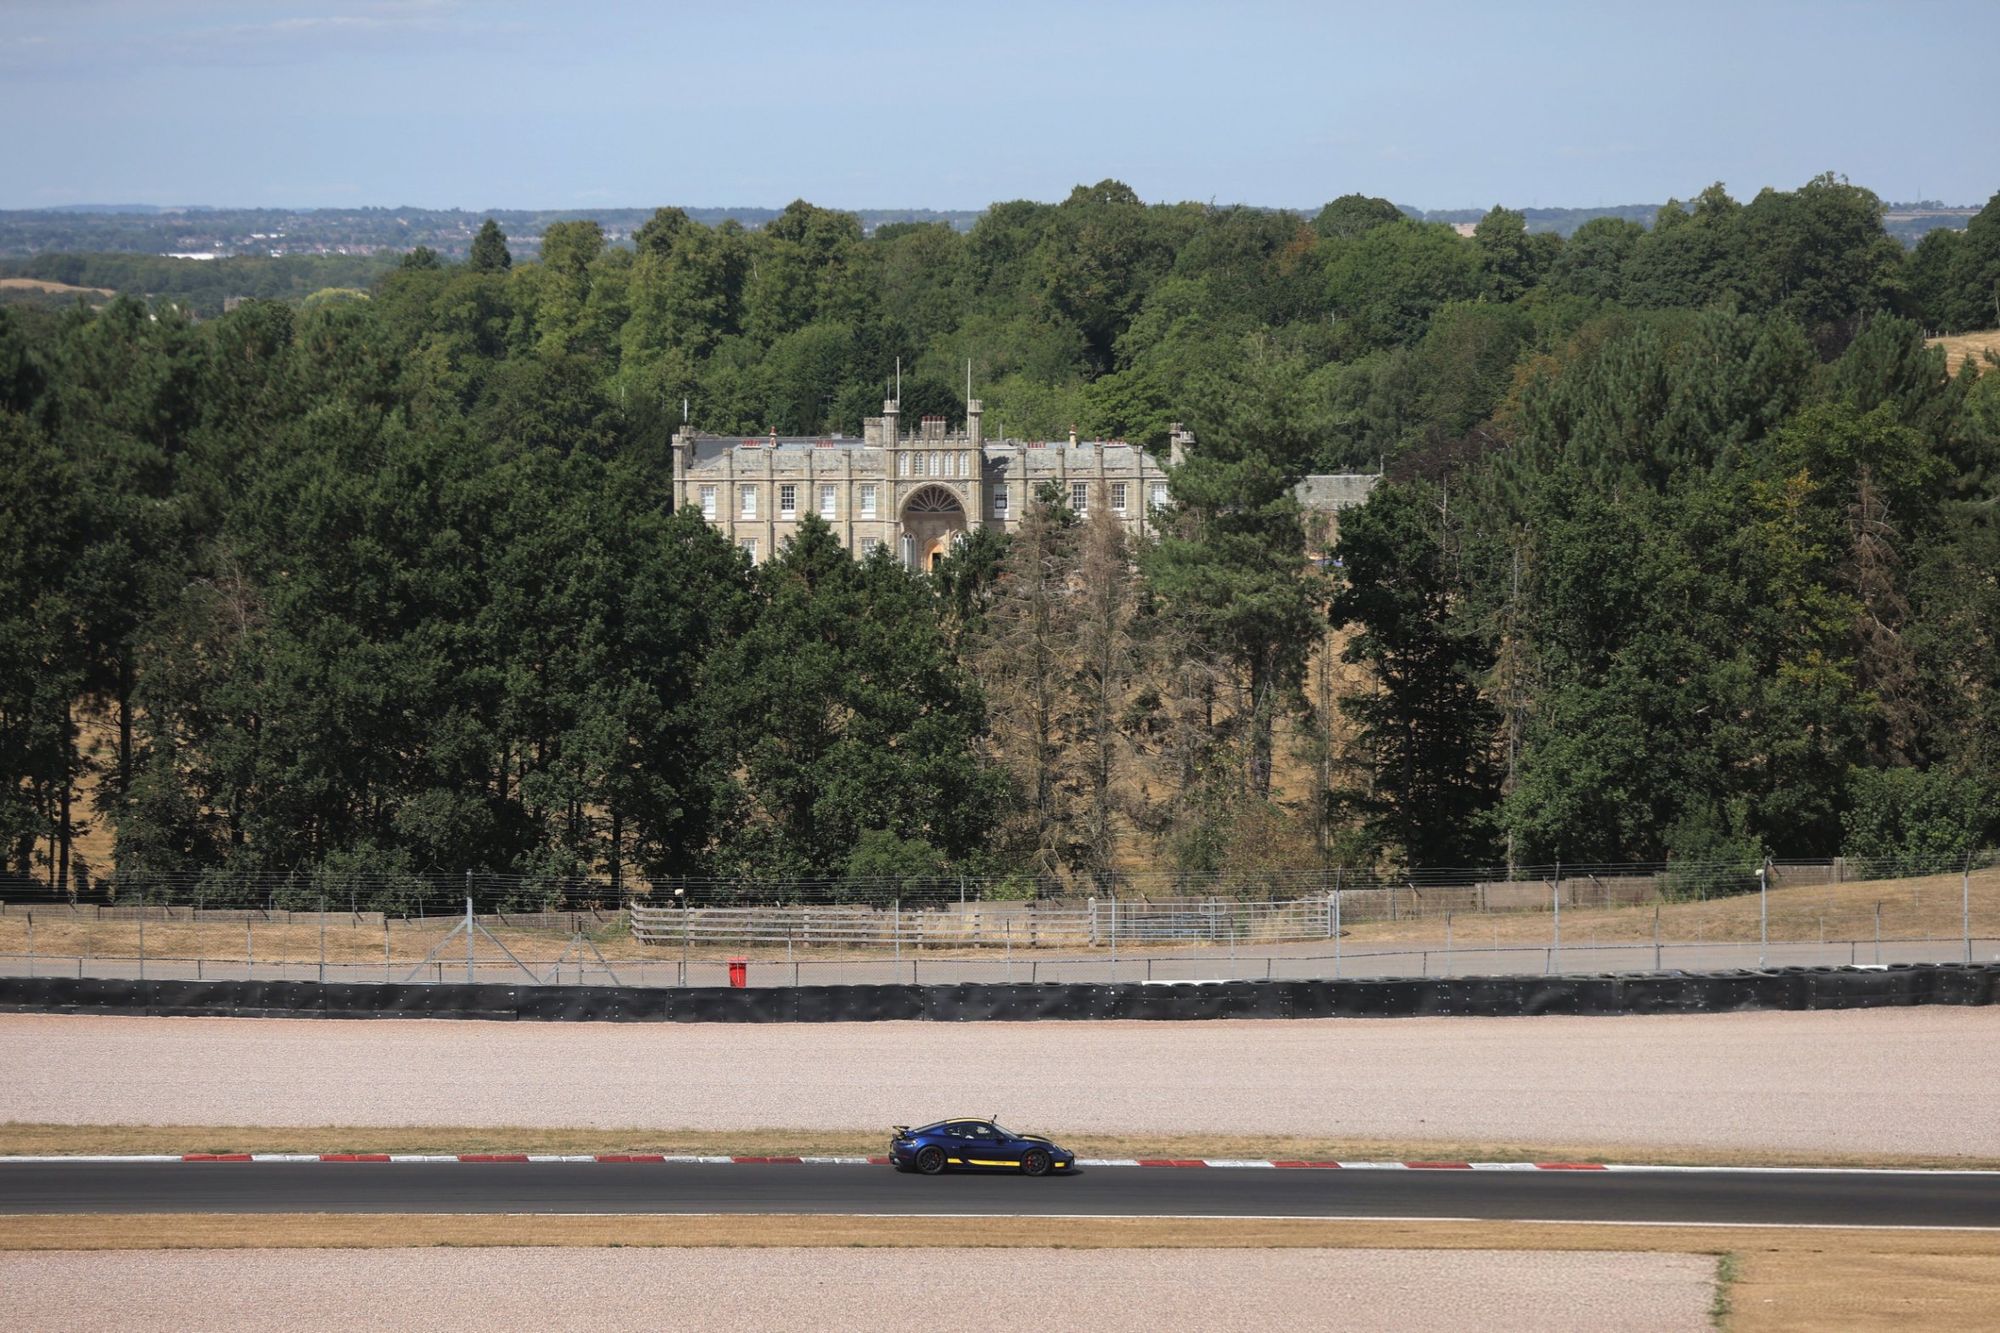
This week I’m sending Jonathan out to Donington on his own. I’ve written him this guide to the National circuit and packed him off with his GoPro, while I enjoy the sea air at Anglesey. Driver rank has its privileges, after all. It feels a bit like waving off a teenager on their first solo drive. I’m proud of him, slightly nervous, and quietly hoping he’s listened to everything I’ve told him.
He’ll be fine. RaceLineApp.ai will be in the car with him, calling the same cues I’d give him from the passenger seat, at the moment he needs them. I’ve been through every one of those cues myself. I don’t need to sit next to him to know he’ll be told when to brake, where to turn in and when to get back on the power.
If you’re heading to Donington for the first time too, this guide is for you as well.
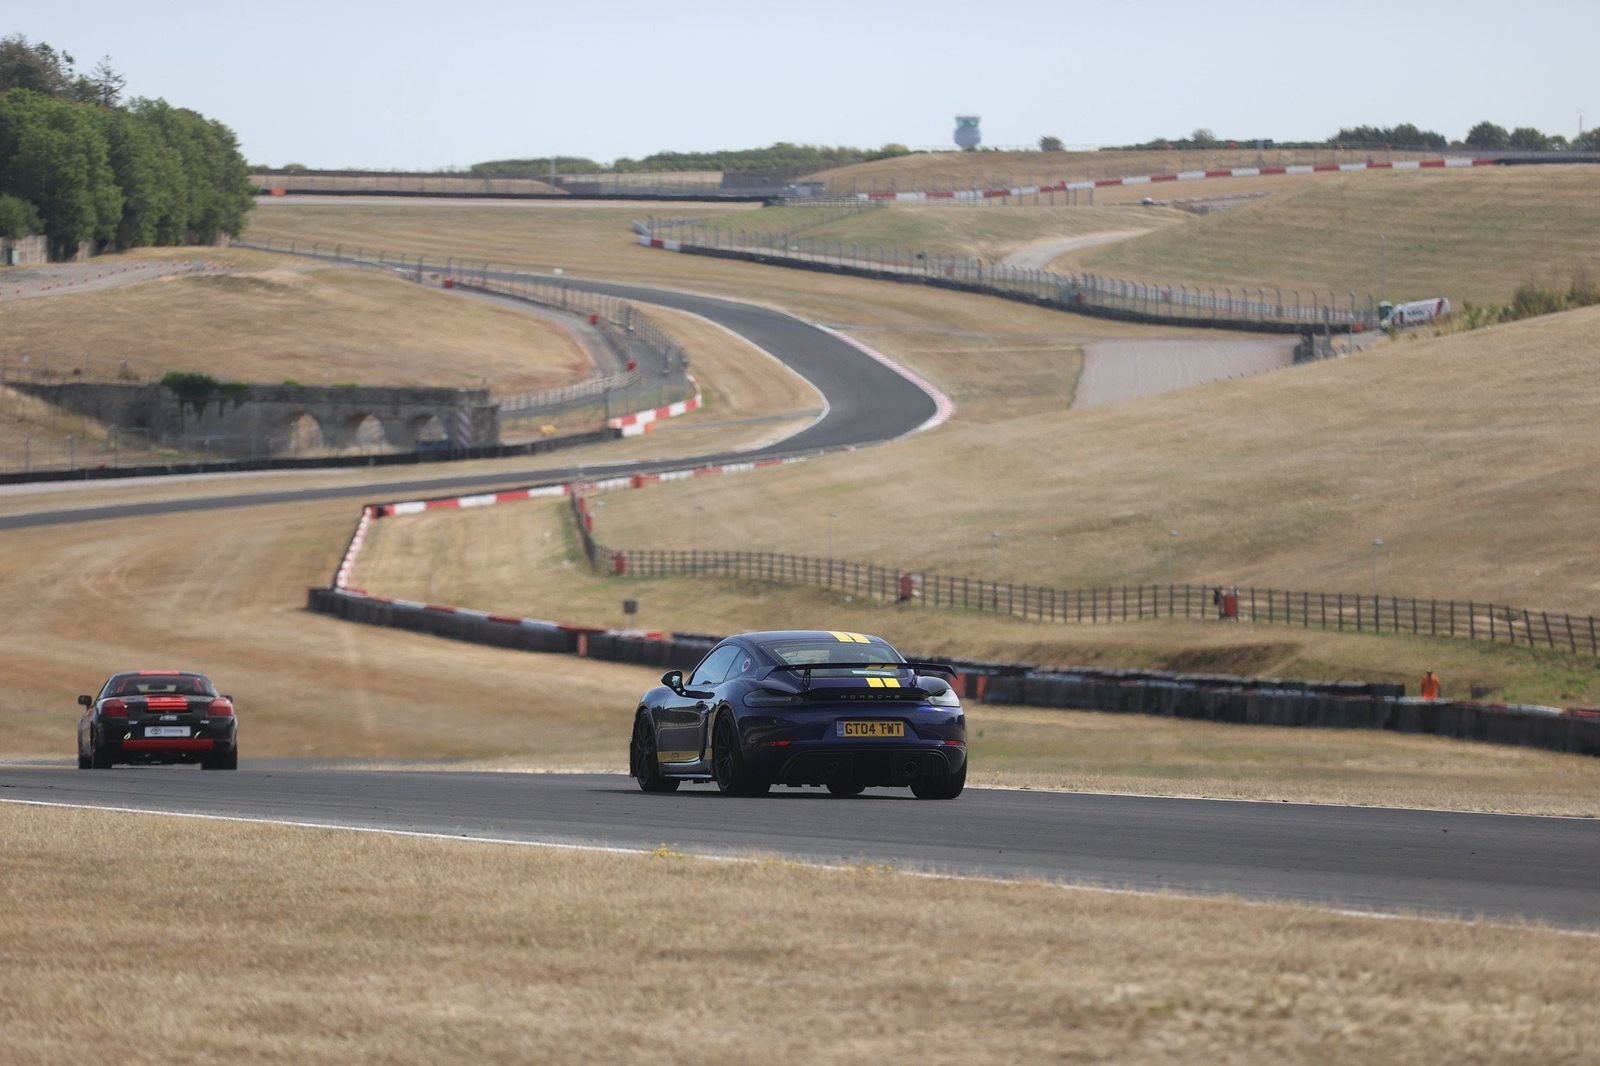
Most track days at Donington run on one of two layouts. The Grand Prix circuit adds the Melbourne Loop, a slower section with the Melbourne Hairpin. The National circuit leaves it out and brings you back onto the start-finish straight through Roberts, a chicane at the end of Starkey’s Straight. Both share the best part of the lap, from Redgate down the hill through the Craner Curves and back up through McLean’s and Coppice. I prefer the National. It’s faster and it keeps flowing, which is what Donington is all about.
Redgate
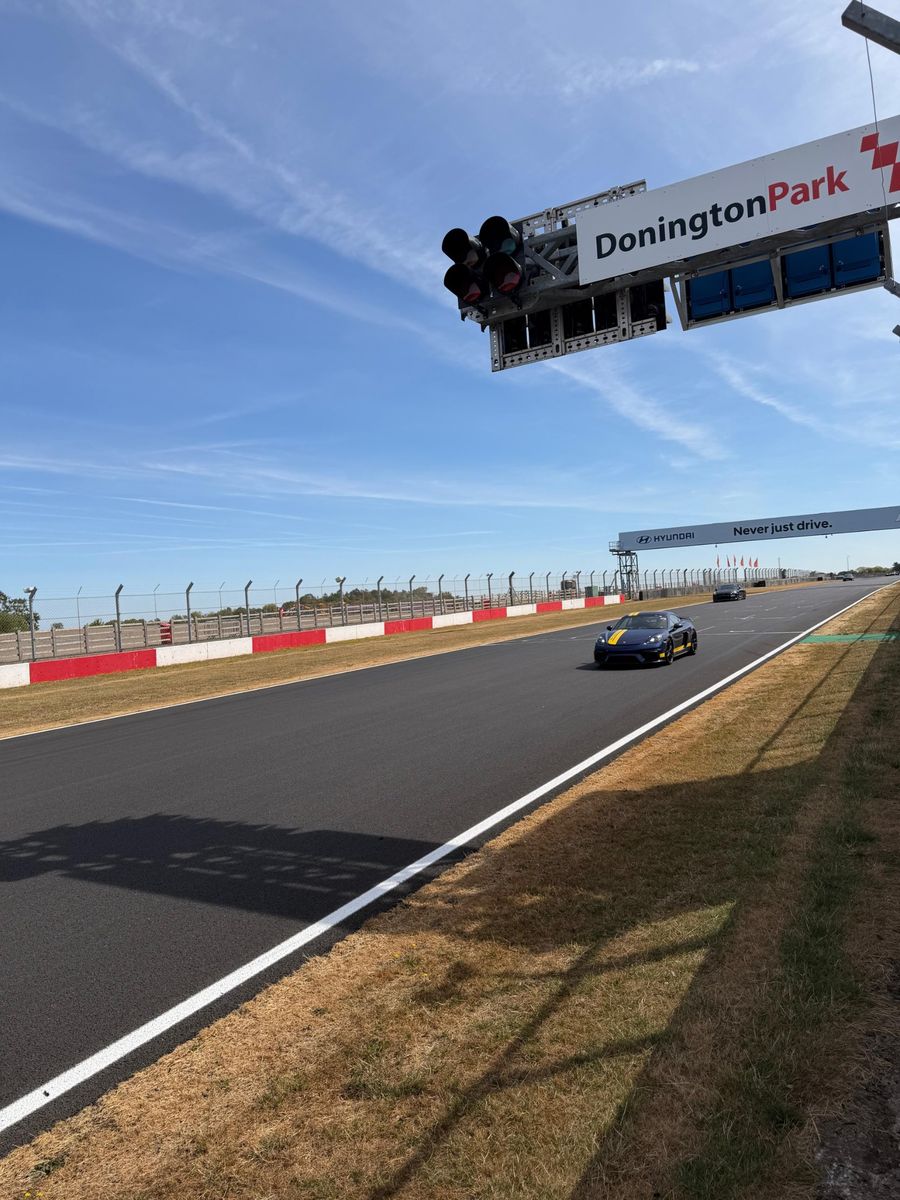
Redgate is the first corner after the start-finish straight. It’s a right-hander, and it tightens more than many drivers expect. Move the car progressively over to the left-hand side on the way in, so you use the full width of the track for your entry.
For braking, I look for the end of the pit wall and the barrier beyond it, the painted lines marking the pit exit, and the edge of the grass on the left-hand side after the pit exit. Use them as guides rather than fixed points. Your braking point depends on your speed, tyres and the conditions.
Keep the car on the left until the start of the inside kerb comes into view, then turn in. Be patient with the apex, because the corner keeps tightening.
Before you reach the apex, move your vision towards the road opening up beyond Redgate. Unwind the steering and feed in the power as the car settles. Don’t think of Redgate and Hollywood as two separate corners. Redgate sets up your exit, and Hollywood sets up the Craner Curves.
Hollywood
Hollywood is a fast bend, and its job is to set you up for the Craner Curves. After Redgate, guide the car towards the right-hand side of the track. Do it smoothly and within the track limits, and don’t rush the turn-in.
Look through Hollywood towards the start of the Craner Curves. Build the throttle gradually as the car settles and keep your hands relaxed. The road is about to drop away, so concentrate on keeping the car calm and balanced.
Craner Curves
This is the section Donington is famous for. The road drops downhill through a fast sequence of bends, and smooth inputs matter more than anything else.
Arrive on the right-hand side, already in position. A useful visual reference for the first turn-in is where the white line on the right-hand side begins to straighten. Use it to help judge your position and identify the right section of track.
The first apex may be later than you expect. If you turn in too early, the car runs wide on the exit. Depending on your car, you may hold the throttle, lift slightly or brake gently. Don’t assume it’s flat out because another car takes it that way. Finish the sequence towards the left, ready for the Old Hairpin.
Old Hairpin
The Old Hairpin is a fast downhill right-hander at the bottom of the hill. Let the car settle in the middle of the track after the Craner Curves, then look ahead to the braking zone. The arrow board on the right tells you it’s coming.
Use the kerb on the left as a visual guide, but do not treat the end of it as a fixed braking point for every car. Do most of your braking with the steering straight. For the approach described here, turn in shortly before the end of the left-hand kerb. Use this as a starting reference, then adjust it through practice and instructor feedback.
Aim for an apex you can hit every lap, rather than chasing the kerb. On the way out, the early part of the exit kerb can pull the car towards the outside before the track opens up, so don’t aim for it automatically. From here you pass under Starkey’s Bridge and start the climb towards Schwantz.
Schwantz Curve
Schwantz is a fast curve that sets you up for the heavy braking into McLean’s. Keep the car towards the right on the approach. The right-hand kerb is a useful visual reference. In the approach described here, the car stays close to the kerb before moving away around 10-15 metres before its end. Use this as an initial guide rather than a fixed measurement for every car or condition.
Use one smooth steering input and avoid turning in early. The left-hand kerb is relatively flat and may be usable where permitted. Don’t follow the left-hand white line just because it seems to mark the edge of the racing line. Finish with the car as straight as you can, ready to brake.
McLean’s
McLean’s is a right-hander where the real apex is later than it looks. Bring the car towards the middle of the track and do your braking in a straight line.
The first part of the inside kerb is not the apex. The kerb changes direction further round. Use the later point where the kerb changes direction as a reference for your intended apex, and be patient with the turn-in.
There’s a slight bump in the surface on the exit. Build the throttle smoothly over it, because hard acceleration or a sudden steering input can unsettle the rear of the car.
Coppice
Coppice is uphill with a partly hidden apex, and it leads onto the long back straight. A good exit here pays off all the way down the straight.
The kerb on the left provides a useful visual reference for braking. Use it as a starting point and adjust for your car, speed, tyres and conditions. Keep the car to the left as the road rises. The end of the left-hand kerb can help you judge the turn-in point, but do not stare at it. Release the brakes gently over the crest and look for the apex as it comes into view.
Try not to run wide too early towards the first part of the exit kerb. You don’t need all the road straight away. Use more of it as the corner opens and you accelerate.
Roberts
Roberts takes you from Starkey’s Straight onto the start-finish straight. It’s a right-left chicane, and your exit decides your speed all the way down to Redgate.
The braking markers are some distance from the corner, so pick them up early. My primary reference is the start of the outside kerb on the right, alongside the Grand Prix circuit chicane. The secondary reference is the end of the building on the left as you approach.
Treat the two parts as one smooth move. Use the flatter kerbs where they suit your car, but stay off the raised red sausage kerbs. The surface near the exit kerb is uneven, so keep your inputs gentle as you get back on the power.
That’s the lap. Jonathan, if you find a kerb I’ve described wrong, I’m sure I’ll hear about it.
Reference points in this guide are visual guides, not fixed braking points. Your braking point depends on your car, tyres, speed, traffic and conditions. Always follow the circuit briefing, the current track limits and your instructor's guidance.